Autumn Planting Guide for Warwickshire Gardens: Bulbs, Plants & Design Tips
Welcome to our autumn planting guide for Warwickshire gardens. One of the things we’re always trying to instil in our clients is that Autumn isn’t the end of the gardening year – it’s actually the start of the next one, and while the leaves may be falling and the evenings drawing in, September and October are usually some of the very best months to get plants in the ground.
Here in Warwickshire, our autumn gardens are blessed with warm(ish) soils, fairly reliable rainfall, and just enough growing season left for roots to settle in before winter. And that means that anything you plant now is more than likely to wake up strong and raring to go next spring.
In this guide, we’ll cover:
- Why autumn is perfect for planting in Warwickshire
- The best bulbs, perennials, shrubs, and trees to plant now
- How to prepare your garden for autumn planting
- Design tips to help you think ahead to next year
And at the end, don’t miss your free Autumn Planting Tips — a practical, step-by-step guide to help keep you on track this season.
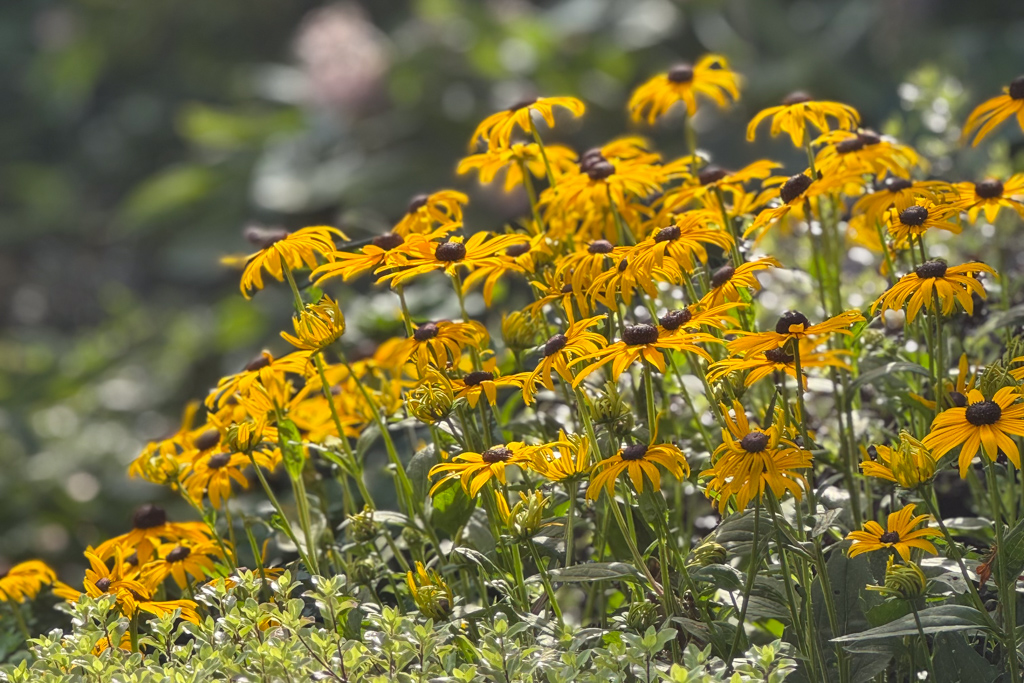
Why Autumn is the Perfect Time to Plant
Many of our clients are used to thinking of spring as “gardening season” and it can feel odd to start planting when the days are getting shorter. But here’s the secret professional garden designers and horticulturalists know: autumn is actually better than spring for planting most things.
Here’s why:
- The soil is generally warmer, while the air is cooler – roots grow happily in soil that’s still warm from summer, while the cooler air reduces stress on plants.
- Rainfall is higher – so, in a nutshell, nature usually does the watering for you.
- Less competition from weeds – they’re slowing down now.
- A head start on spring – by the time warmer weather arrives, your plants are already established and ready to burst into life.
In short: plant now, and by spring you’ll have stronger, healthier plants with less work. Win-win!
Best Plants to Plant in Autumn
So what should you be putting in the ground right now? Thinking about plant types, and in no particular order here are some ideas for you.
Spring Bulbs for Colour
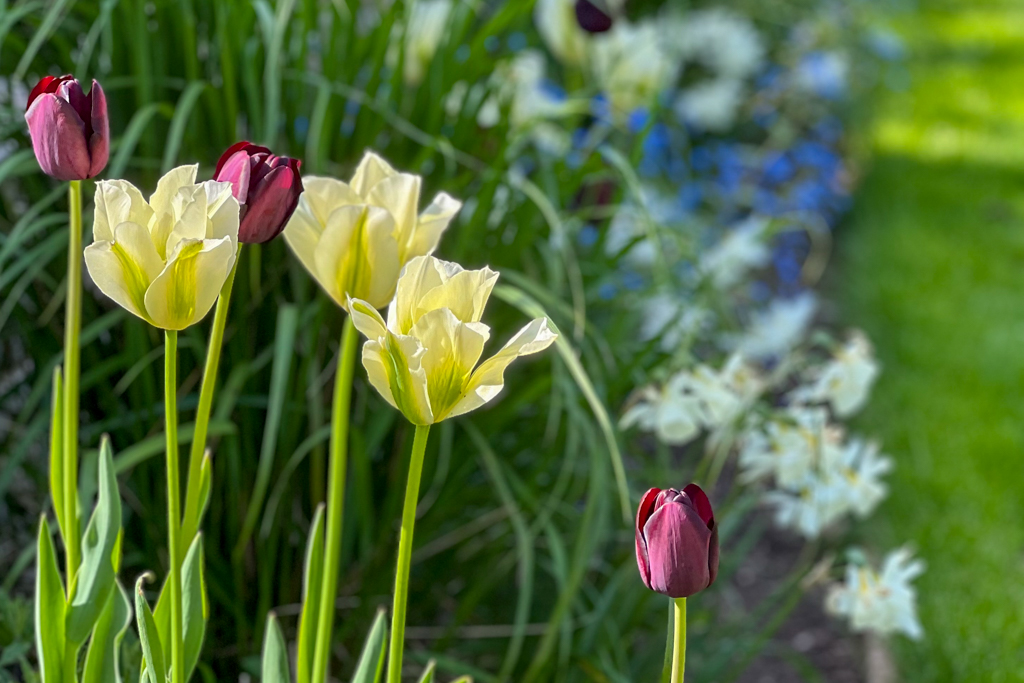
Autumn is the time to plant bulbs if you want a dazzling display next spring, consider:
- Tulips – perfect for offering endless colours, they are great in borders or pots (plant in November for best results).
- Daffodils – reliable, cheerful, and perfect for naturalising.
- Alliums – architectural globes that pop up in late spring.
- Crocuses – early bloomers to lift your spirits after winter.
Design Tip: Plant bulbs in groups of 3, 5, 7, or more. Odd numbers and clusters look much more natural than straight lines.
Perennials & Grasses
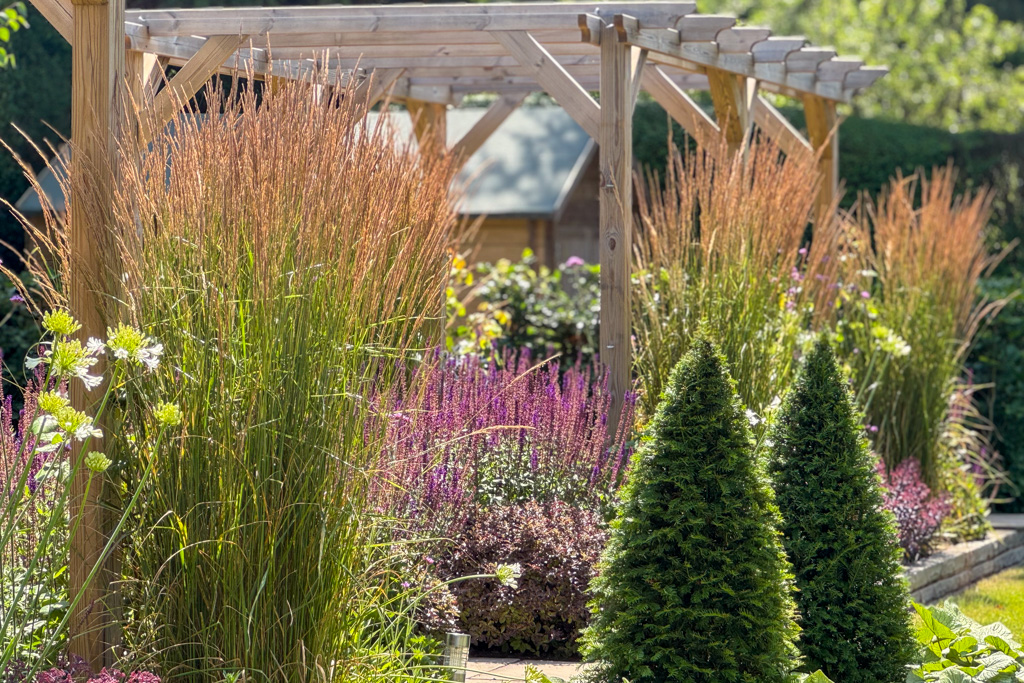
Perennials planted now focus on growing strong root systems over the winter, so they’re usually tougher and fuller next year, think about:
- Hardy geraniums – these are reliable, long-flowering, and brilliant ground cover.
- Echinacea and Rudbeckia – some of our favourites, these are bright, cheerful daisies that also feed pollinators.
- Ornamental grasses (Such as, Miscanthus, Calamagrostis) – perfect for adding structure and movement.
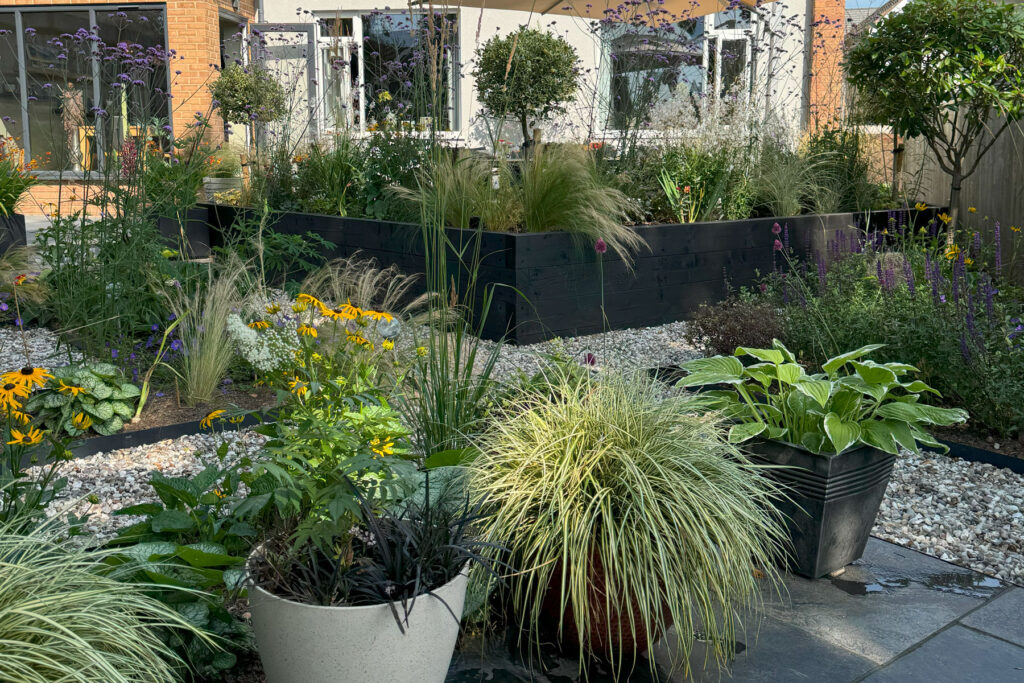
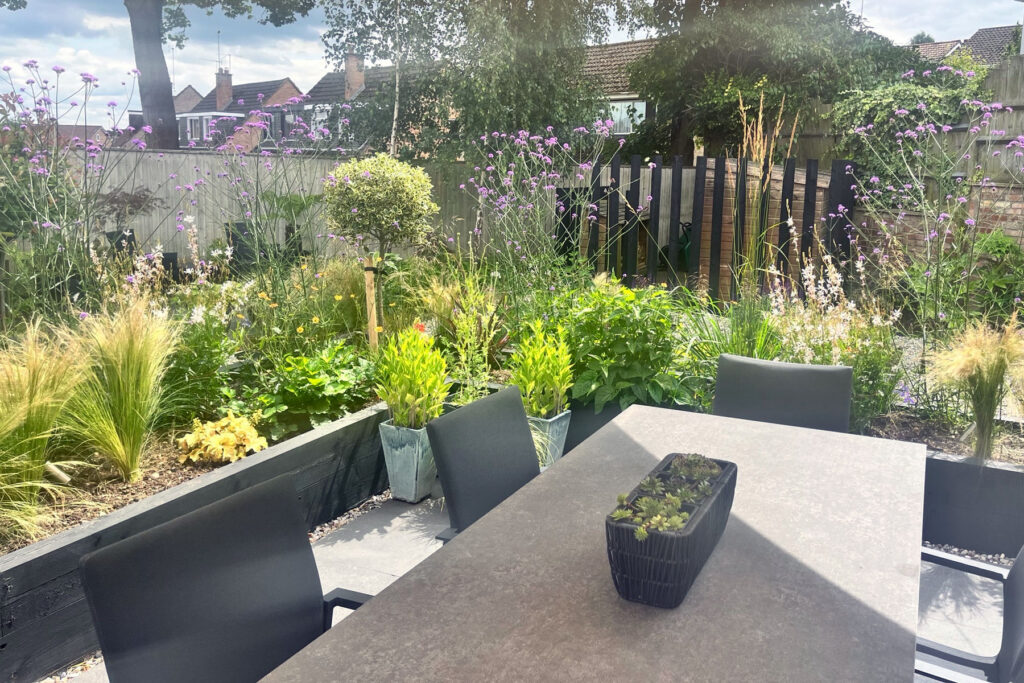
Design Tip: Mix grasses with late perennials as we've done here for a Coventry client, for a soft, naturalistic look that lasts well into winter.
Trees & Shrubs
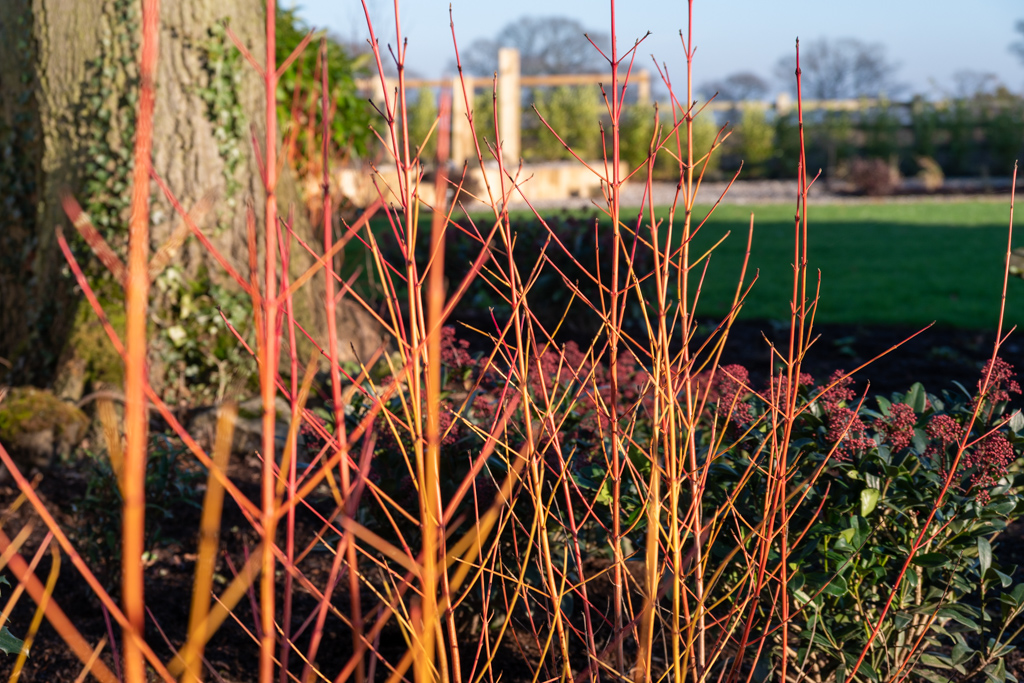
Autumn is hands-down the best time to plant trees and shrubs. Some of our favourites include:
- Amelanchier (Juneberry) – this beautiful tree blossoms in spring, has berries for wildlife, and brings gorgeous fiery autumn colour.
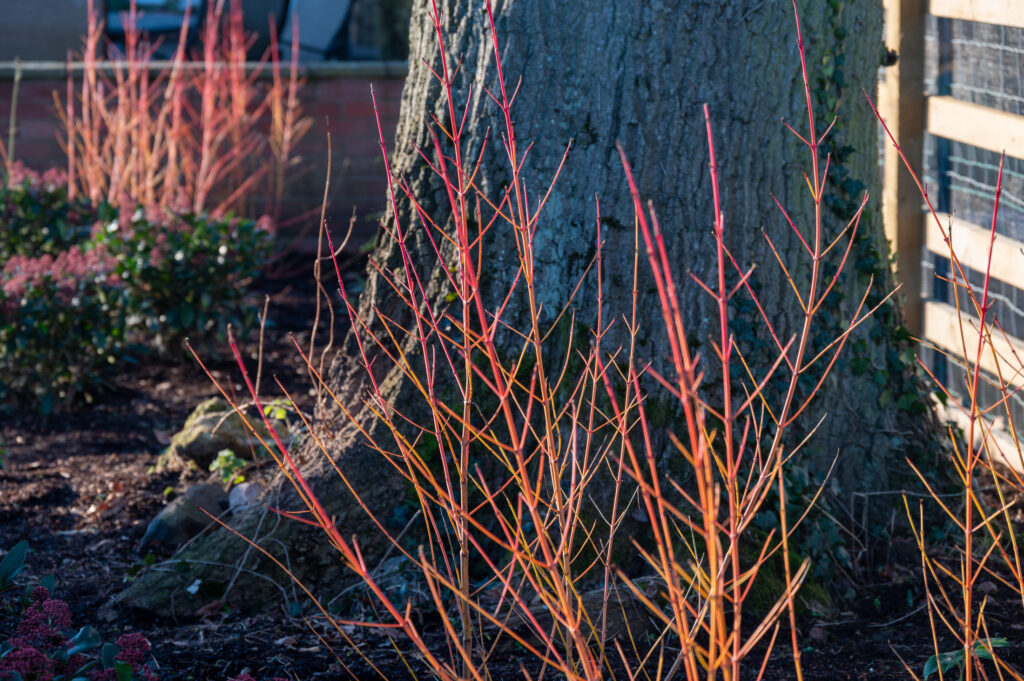
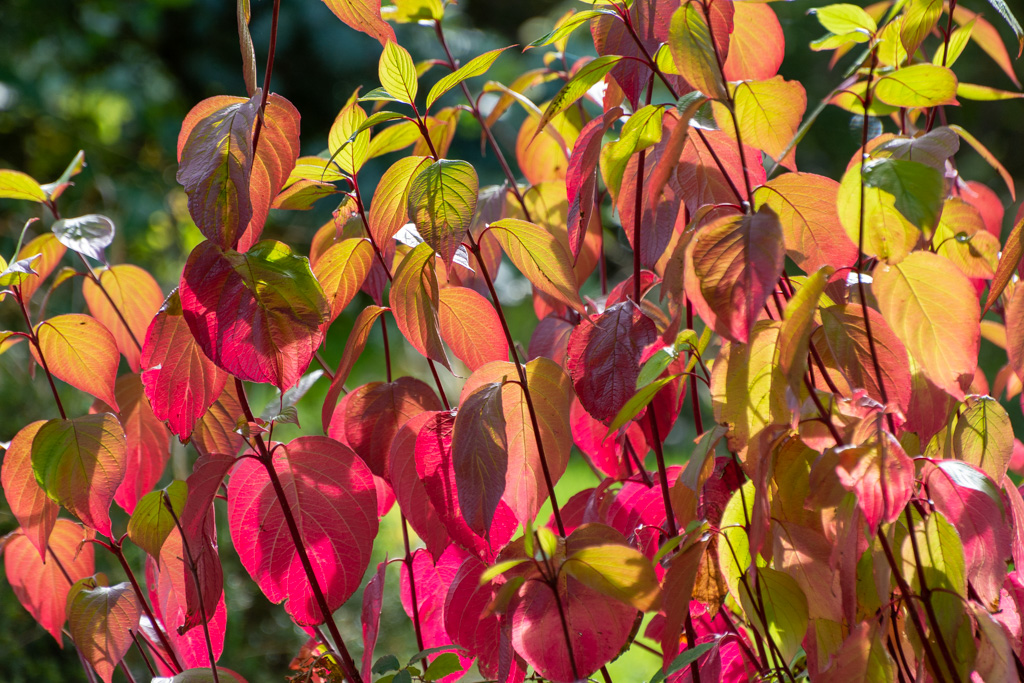
- Cornus (Dogwood) – this offers striking red or yellow stems for winter drama as can be seen in a Warwickshire client's garden.
- Mahonia – offers evergreen structure with both flowers and berries.
Design Tip: Position trees and shrubs carefully — they’ll be the backbone of your design for years to come.
Plants for Wildlife

It’s easy to forget that wildlife needs us most in autumn and winter too. Planting now helps your garden stay alive with activity.
- Ivy – perfect for a late-season nectar source and shelter for insects.
- Sedum (Hylotelephium) – their striking flat flowerheads are loved by bees and butterflies - this image is in one of our Coventry clients' garden.
- Pyracantha – beautiful and plentiful berries for birds as well as offering evergreen cover.
Design Tip: Mix wildlife-friendly plants into your borders so they look great and support nature too.
Preparing Your Garden for Autumn Planting
A little prep tends to go a long way. Here’s how we suggest getting your beds and borders ready:
- Clear away summer annuals – this makes space for new plants and the old growth is a useful addition to composters.
- Improve the soil – dig in home-made compost or other suitable soil improvers, especially in Warwickshire’s clay-heavy areas.
- Mulch – laying a 5cm layer locks in moisture, feeds the soil, and insulates roots.
- Think layers when planting – shrubs for structure, perennials for colour, bulbs for seasonal pops.
Design Tip: Autumn is the time to set the stage. Treat each border like a theatre — the big players at the back, supporting acts in the middle, and the stars of the show at the front.
Garden Design Insight: Thinking Ahead to Spring & Summer
This is where design really comes into play. Autumn planting isn’t just about filling gaps — it’s about planning the story your garden will tell next year.
When we design planting schemes at Blue Daisy, we look for:
- Year-round interest – so your garden never feels bare.
- Balanced structure – shrubs and perennials that frame seasonal stars.
- Low-maintenance options – planting that fits your lifestyle, not just your wish list.
- Wildlife support – because a buzzing, chirping garden feels alive.
It’s easy to get carried away at the garden centre, but a professional plan means you’ll spend wisely, plant smartly, and enjoy your garden more.
Free Resource: Autumn Planting Tips
To help you put this into action, we’ve created a free downloadable Autumn Planting Tips sheet. It covers:
- Suggested bulbs, perennials, shrubs, and trees to plant now.
- Step-by-step prep and planting reminders.
- Quick design tips to keep your garden looking good all year.
Download your free Autumn Planting Tips here.
Ready to Refresh Your Garden This Autumn?
Autumn planting is the gardener’s secret weapon. By popping bulbs, perennials, and shrubs in the ground now, you’re setting yourself up for a spring and summer that will be bursting with colour, structure, and life.
If you’d like a helping hand:
- Download your free Autumn Planting Tips.
- Book an Initial Design Meeting with Blue Daisy Garden Design.
Together, we’ll make sure your garden not only survives the winter but thrives next year and beyond.
Final Thoughts
The nights may well be drawing in, and the garden might feel like it’s slowing down, but in reality, autumn is where the magic begins. With the right plants, a bit of prep, and a touch of design, you can create a Warwickshire garden that feels alive through every season.
Let’s roll up our sleeves, plant some bulbs, and look forward to a spectacular spring!
